Once the blanks have been cut, and the process to glue up the back rests and rockers has begun, it is time to begin fitting the pieces together to build a chair.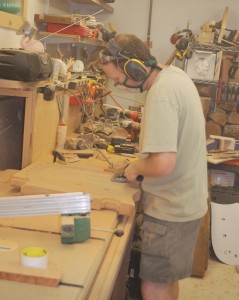
The first step it so prepare the seat. Here you can seem me dishing out the seat using and angle grinder and 36 grit grinding disk. Once the seat is roughed out, I move on to a random orbit sander and progressively finer disks. This will continue until I reach 500 – 1000 grit automotive sanding disks. This fine sandpaper makes the wood glassy smooth.
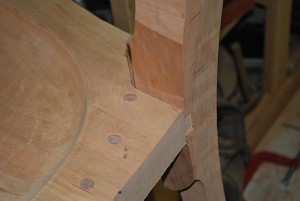
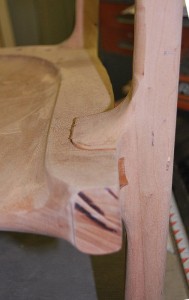
Once the seat is complete, it is time to move onto the legs. The leg to seat connections are mortise and tenon joints designed by Sam Maloof. When constructed correctly, these joints are amazingly strong and beautiful. I prefer to start with the rear legs then proceed to the front.
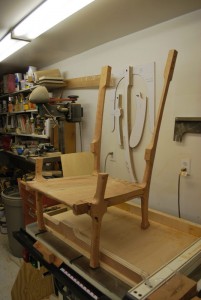
Once the leg joints are perfect, they are glued and clamped for 24 hours to let the glue completely cure.
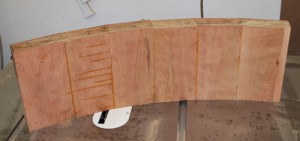
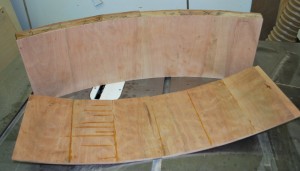
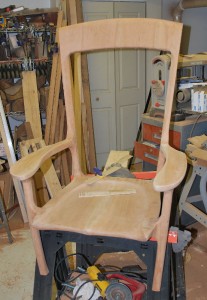
Once the chair is in this condition, it is time to install the headrest. The coopered headrest looks like this.
This is obviously not ready to be installed in the chair yet. A few minutes at the bandsaw produces this result.
Note that by taking great pains to align the grain, the joints practically vanish.
Once the headrest is shap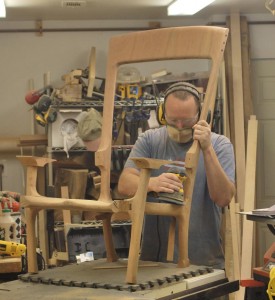 ed, sanded and installed in the frame of the chair, I begin the process of shaping and sanding as much of the chair as possible. Once the backslats and arms are installed, it becomes much harder to sand and shape many areas of the chair. Here you can see me working on the seat area that will fall below the arm. Notice the eye, hearing and lung protection. This chair requires hours of grinding and sanding and it is vital to protect yourself from the environment all that noise and dust creates. I use hearing protectors with a radio and MP3 jack in them. This allows me listen to something other than the drone of the equipment. The dust mask is a Dust-Bee-Gone mask. It is very lightweight and very comfortable. It is a little pricey, but makes up for it by being so comfortable it is easy to wear for hours at a time.
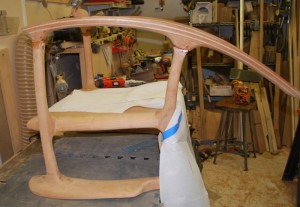
After several hours of sanding and grinding the chair now looks like this.
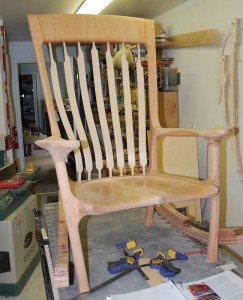
Notice that the rockers and back slats are not yet installed despite being the first pieces created. It is much easier to shape and sand the chair without these pieces installed as once the back slats are installed it is impossible to sand the rear of the seat and the bottom of the headrest. If the rockers were installed, it would be much more difficult to maneuvre the chair into position to sand the lower portion of the chair.
It is now time to install the back slats. In order for these back slats to flex and form to the back of the sitter, they must not be glued in place. In order to keep the loose slats from rotating they are inserted in elongated holes. To keep the slats from squeaking as they move in the holes, wax is infused in the tips of the back slats prior to inserting them in the seat and headrest.
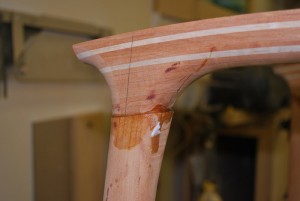
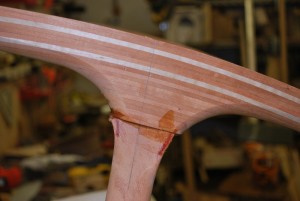
At this point, I am nearly finished with construction. The next big step is to attach the rockers. This is a slow process, as each joint must be perfect. Any flaws in the joints will be visually distracting and would create a weak spot in the joint. Each joint is created with epoxy and a single screw. While the joint might be strong enough on its’ own with just the epoxy, the screw is to ensure that the joint can handle the stresses placed on it while rocking.
Here are close up views of the rocker joints.
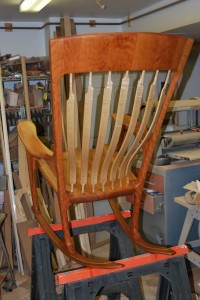
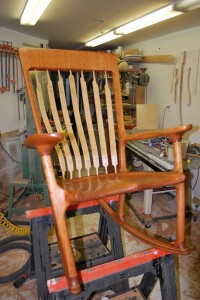
Once the epoxy has set, it is time to grind and sand some more. It is long and dusty work, but when it is finished, you end up with this:
Continue to Pricing and Ordering

